TikTok LIVE Studio Equipment Checklist: From Beginner to Pro
2026-03-07
TikTok LIVE Studio Equipment Checklist: From Beginner to Pro
TikTok LIVE Studio gives creators more room to level up their stream quality, but that does not mean you need to buy everything at once. The better approach is to build your setup in layers. Start with the equipment that gets you reliably live, then move toward cleaner video, stronger audio, and a more polished environment as your stream becomes more demanding.
That is why this checklist works best when you think in tiers:
- Beginner: enough to go live with stable quality
- Intermediate: enough to look and sound noticeably better
- Advanced: enough to support more demanding creator workflows and production goals
If you use the checklist this way, you are much less likely to overspend on gear that your current content does not actually need.
The Core Equipment Categories
For planning purposes, it helps to group your setup into four major equipment categories:
- computer
- camera
- lighting
- audio gear
That order matters. Your computer determines what kind of stream you can run. Your camera and lighting shape how professional the stream looks. Your audio setup determines whether viewers stay with you or leave because the stream sounds weak, noisy, or hard to follow.
In this article, treat audio gear as a broad bucket that can include:
- microphones
- earphones or headphones
- sound cards where needed
The goal here is to help you build a realistic checklist by level. If you later want to fine-tune which camera, lighting, and microphone combination best fits your content style, that belongs in the next article.
Beginner Setup Checklist
The beginner setup is about getting to an acceptable HD stream without turning your first desktop setup into a full production project.
Computer
Use a machine that can handle the minimum LIVE Studio level for your operating system. At this stage, the goal is stability, not feature-heavy production. You want enough headroom to run LIVE Studio cleanly without depending on extra software or layering on too many demanding effects.
Camera
The entry-level camera choice is a webcam. Its biggest advantage is simplicity:
- plug-and-play setup
- lower upfront cost
- acceptable HD output for talking-head or casual creator formats
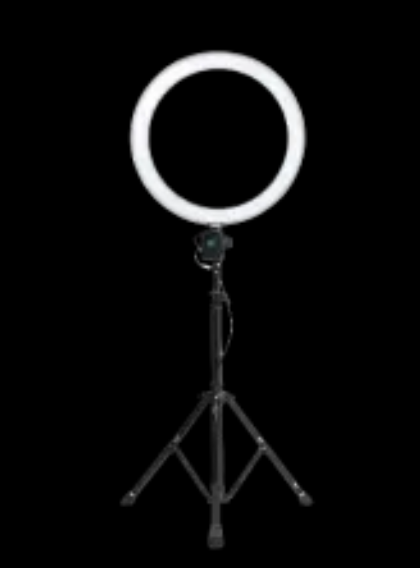
Lighting
Start with one usable key light. This is the fastest way to improve image quality without replacing your whole setup. Even a basic camera usually looks better under decent light than a better camera in poor light.
Audio
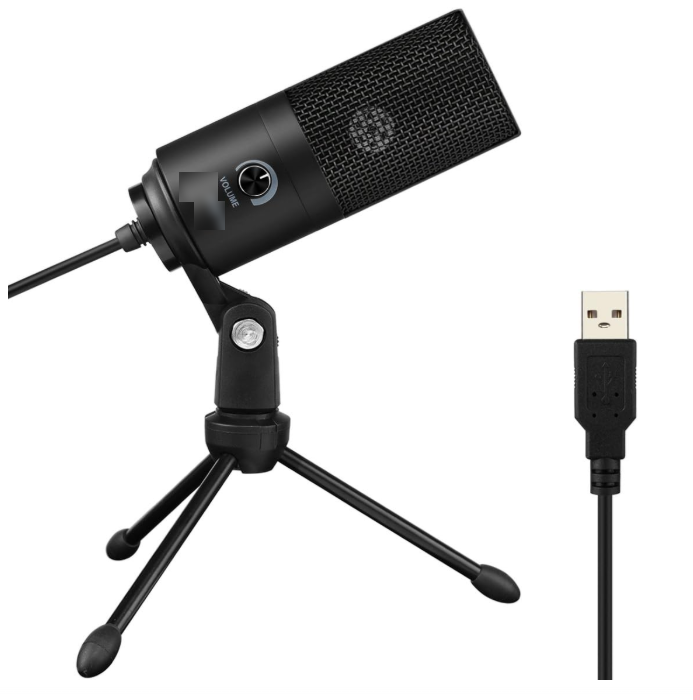
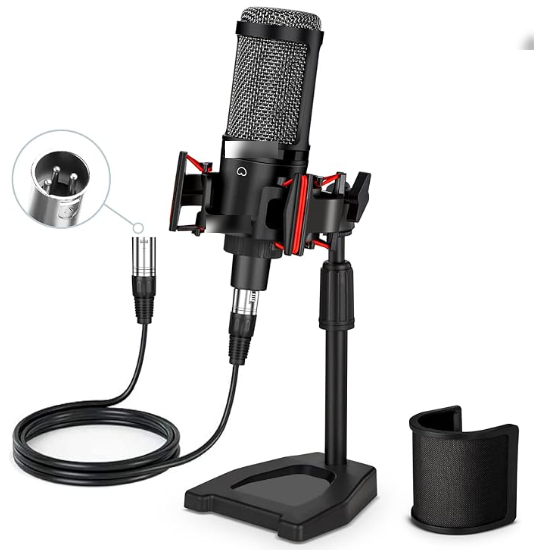
A USB microphone or simple earphones are the most practical entry choices here, depending on your format. If you sit at a desk and talk to camera, a USB mic is usually the cleaner beginner upgrade. If you move more and want something discreet, standard earphones can be a lighter first step.
Intermediate Setup Checklist
This level makes sense for creators who stream regularly and want a setup that looks intentional, not improvised.
Computer
Intermediate systems make more sense once you start using features like co-host, multi-guest, enhance, and effects on a regular basis. At this point, your system needs more breathing room because the stream itself is becoming more complex.
Camera
The middle option here is a digital camera. It usually delivers a cleaner image, better depth, and a more polished feel than a basic webcam while still being more practical than a full advanced creator rig.
Helpful accessories may include:
- tripod
- capture card
- dummy battery
- L bracket depending on the model
Lighting
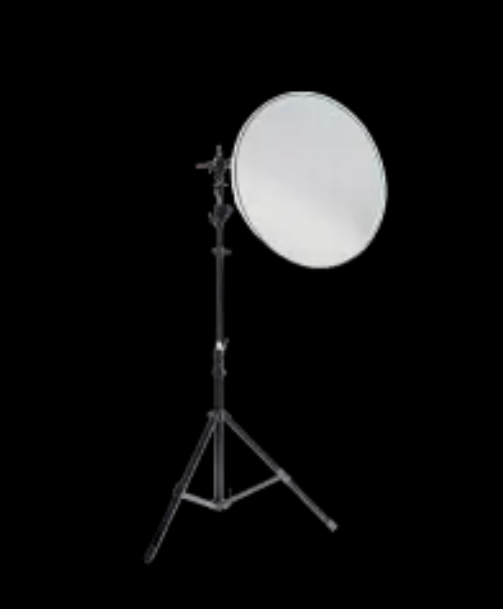
At this stage, a one-light setup is usually no longer enough. Instead of only making the face visible, your lighting should start shaping the scene. Add:
- key light
- fill light
- optional backlight
This gives you cleaner facial lighting, softer shadows, and more separation from the background.
Audio
USB microphones remain a strong intermediate choice because they improve clarity without forcing you into a more complex audio chain. For many seated creators, they are still the best balance of sound quality, ease of setup, and day-to-day convenience.
Advanced Setup Checklist
The advanced tier is for creators whose stream is no longer just a stream. It is a production environment.
This is usually the right tier for:
- gamers with more complex visual setups
- musicians who need stronger sound quality
- performers who care about scene control, image depth, and reliable equipment behavior under longer sessions
Computer
This level should comfortably support all LIVE Studio features plus more demanding gear, more visual sources, and longer sessions with less risk of slowdowns.
Camera
The advanced camera tier is mirrorless or DSLR. This is where you start getting sharper images, better color, stronger lens flexibility, and more control over the way the stream looks in different environments.
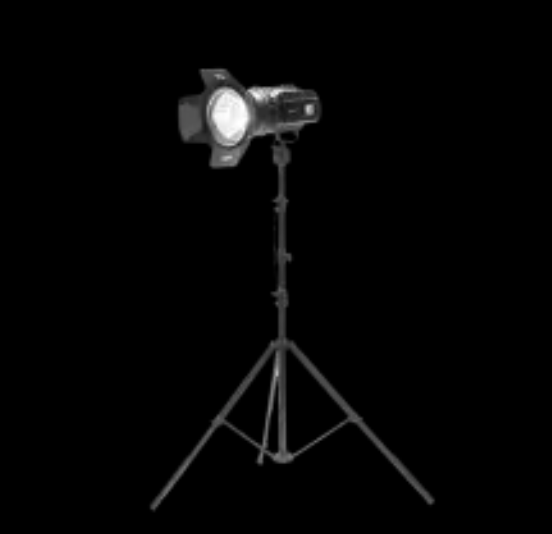
Lighting
A more complete lighting setup usually includes:
- key light for primary illumination
- fill light to soften shadows
- backlight for separation
- atmosphere light for style and background mood
Atmosphere lighting matters more at this level because the background becomes part of the stream identity, not just unused space behind the creator.
Audio
The advanced audio tier is the large-diaphragm XLR microphone. This is where you move away from simple plug-and-play convenience and toward a more deliberate audio chain that can support stronger vocal quality or music use cases.
How to Choose the Right Audio Accessories
At the checklist stage, it helps to think about audio accessories in simple decision groups rather than as a full buying guide. The question is not "Which accessory is objectively best?" It is "Which accessory solves my current streaming need?"
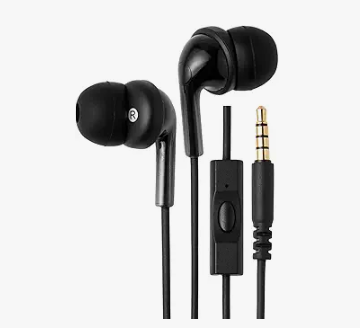
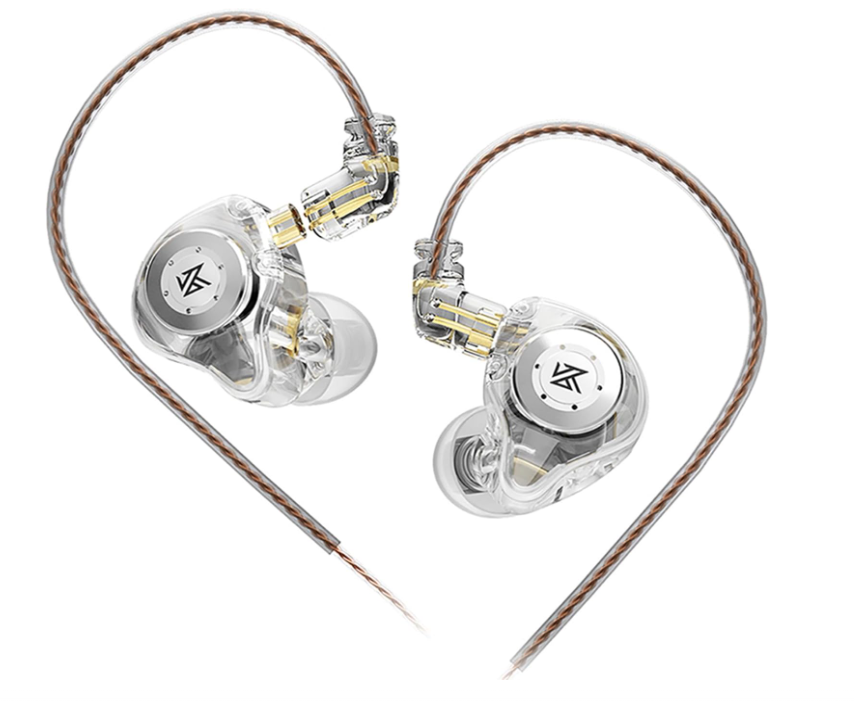
Earphones and headphones
- Standard earphones: budget-friendly and discreet
- In-ear monitors: low latency and especially useful for singing, recording, and live commentary
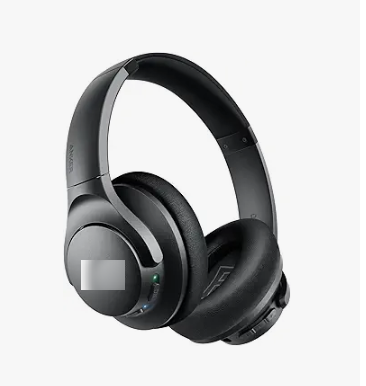
- Headphones: stronger atmosphere and spatial positioning, useful for gamers and music creators
Sound cards
Sound cards become more relevant when your audio setup needs more control than a simple USB path gives you. Practical use cases include:
- all-in-one sound cards for easier plug-and-play operation
- LIVE-oriented sound cards for non-music creators who want lower latency and voice controls
- recording-oriented sound cards for music creators who want high fidelity
This is a good reminder that "better" gear depends on the kind of creator you are, not just on price or complexity.
Recommended Gear Logic by Creator Type
Use this section as a quick shortcut, not a full matching guide.
Chatting or lifestyle creator
- webcam or simple camera
- basic key light
- USB microphone or standard earphones
Gaming creator
- stronger computer
- dual-camera or capture-card-ready setup if needed
- better headphones for immersion and monitoring
- more flexible lighting and scene control
Music creator
- higher-end camera if visual presentation matters
- XLR microphone
- recording-grade or advanced sound card
- monitoring setup that reflects voice accurately
If you want more detailed matching between creator type and gear combination, move on to the dedicated camera, lighting, and microphone article after this checklist.
Common Mistakes to Avoid
Buying advanced gear before stabilizing the basics
If your computer or internet is weak, upgrading to expensive cameras alone will not solve your stream quality problems.
Ignoring accessories
A camera body is not always the whole purchase. The official guide repeatedly implies that accessories such as capture cards and dummy batteries matter.
Underestimating lighting
Many creators obsess over cameras and forget that lighting often changes image quality just as much.
Choosing audio gear without considering content style
A USB microphone may be ideal for a seated talking stream, while a lavalier or XLR setup may fit completely different creator needs.
Summary
The best TikTok LIVE Studio equipment checklist is not one fixed shopping list. A tiered approach works better because it keeps your setup aligned with your actual workload. Beginner is enough for simple HD streaming, intermediate fits more regular feature use, and advanced makes sense once your stream becomes more production-heavy.
Start by choosing the tier that matches your current workload. Then use the next article to fine-tune the camera, lighting, and microphone combination that best fits the type of content you actually create.